WHY CHOOSE KMP?
Quality ASSURED -QUALITY department
Why Choose KMP Brand Products: Unmatched Quality Assurance
Discover why discerning customers consistently turn to KMP Brand products. Our commitment to excellence shines through our unparalleled quality assurance processes, ensuring that every KMP Brand part exceeds expectations.
A Wealth of Expertise
At KMP Brand, our Quality Department boasts an extensive repository of meticulously developed and rigorously approved drawings and samples. This invaluable resource forms the cornerstone of our commitment to precision. We frequently consult this repository alongside our expansive OEM Store, guaranteeing that every KMP Brand component adheres flawlessly to specified standards.
Elevating Standards: A Focus on Precision and Reliability
Our exacting quality control procedures stand as a testament to our dedication to excellence. Every single component undergoes rigorous scrutiny to ensure it meets our stringent specifications for reliability. We take immense pride in our ISO certification, a testament to our unwavering commitment to maintaining the highest industry standards.
The following detail a selection of the metrology techniques and equipment used by KMP throughout the development and quality control process.
CO-ORDINATE MEASURING MACHINE (CMM)
The CMM is used to measure the geometry of our parts using various probes. This machine can measure down to a resolution of 1 micron and is used to measure many parts including pistons, ring gears, crankshafts, camshafts and rollers.
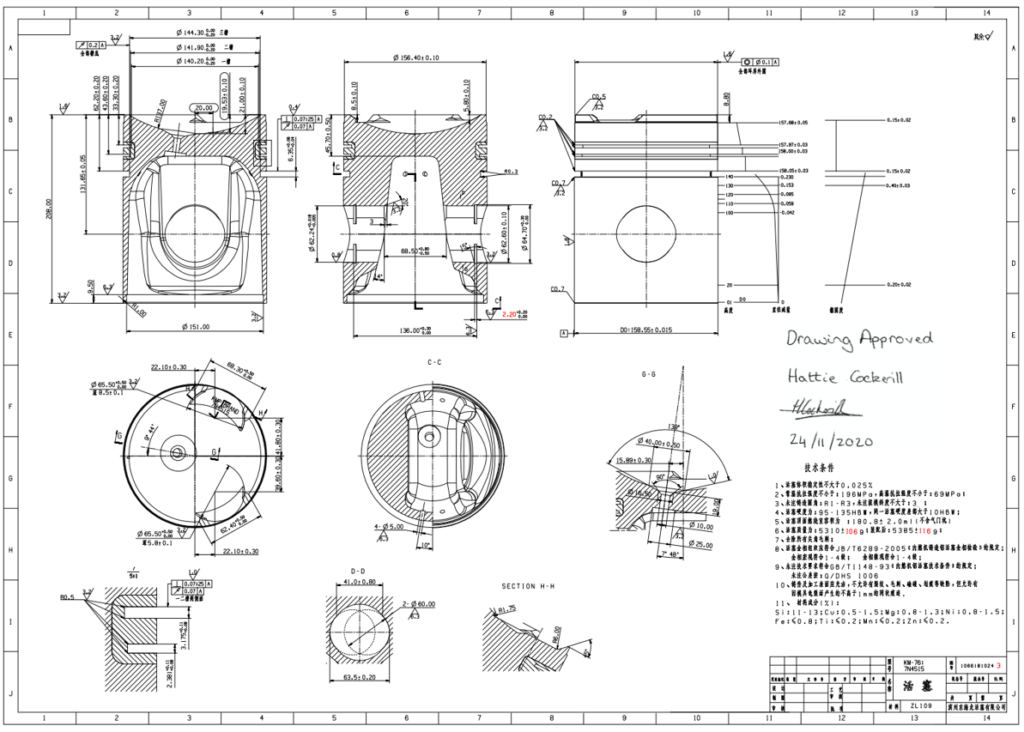
KMP BRAND PISTON DRAWING
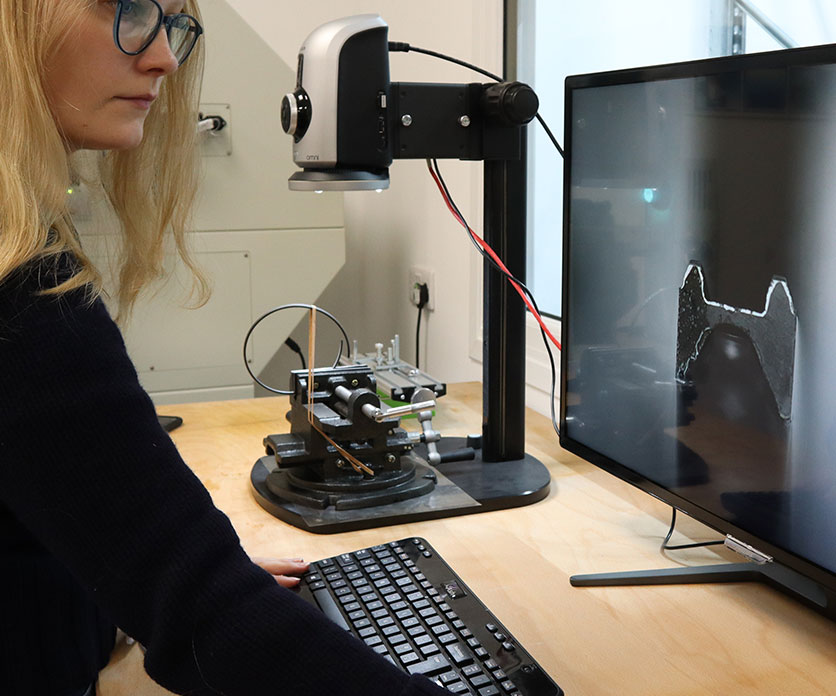
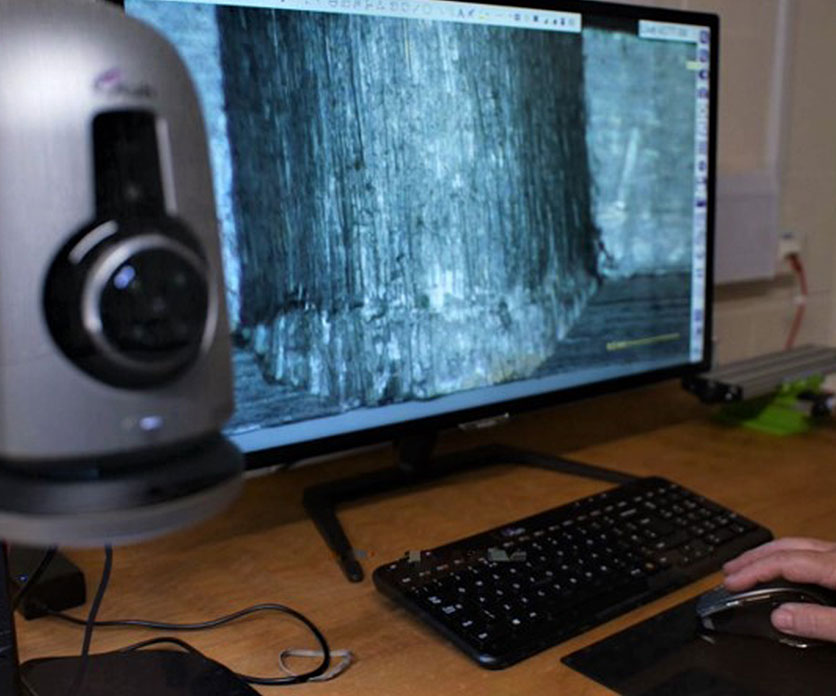
DIGITAL MICROSCOPE
The digital microscope can zoom up to 160x and is invaluable in the measurement of bearing material thickness, coating analysis (piston rings) and failure/crack analysis.
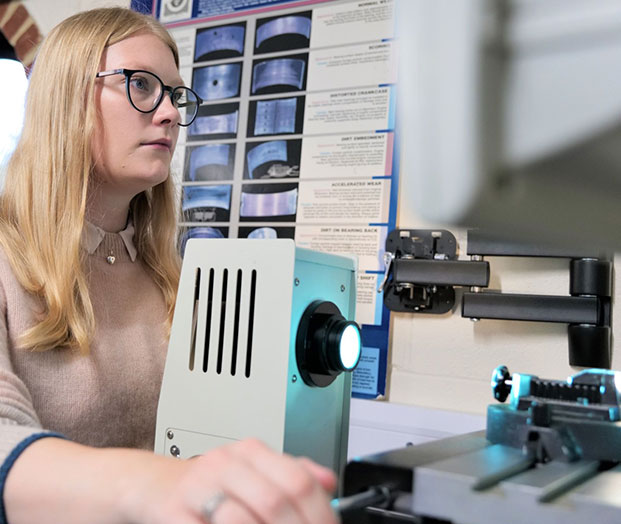
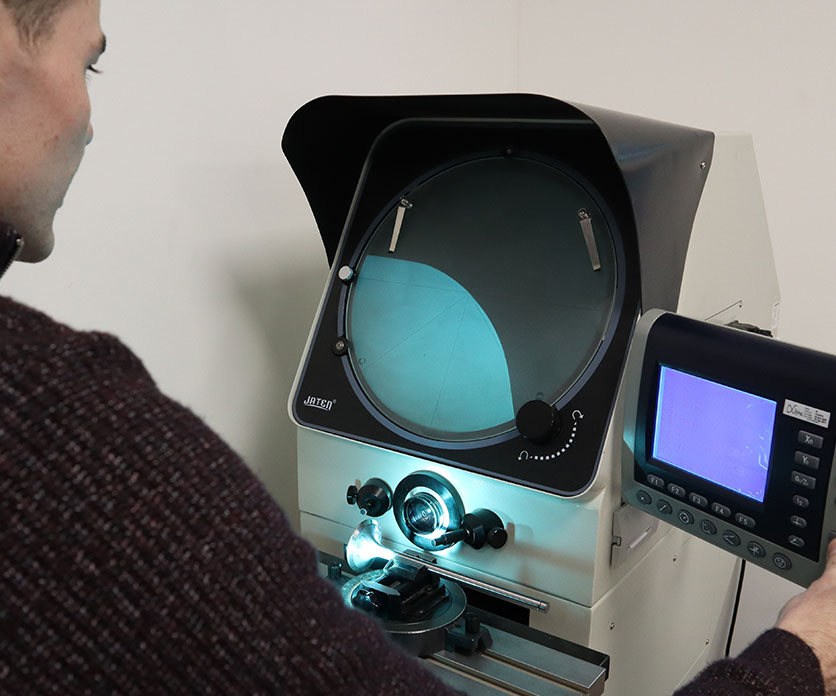
SHADOWGRAPH
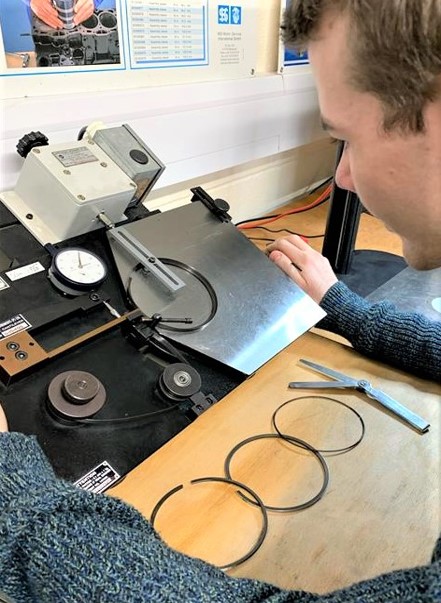
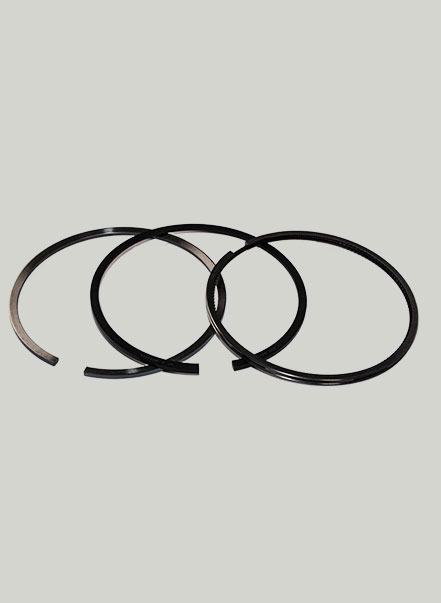
MECHANICAL PISTON RING TESTER
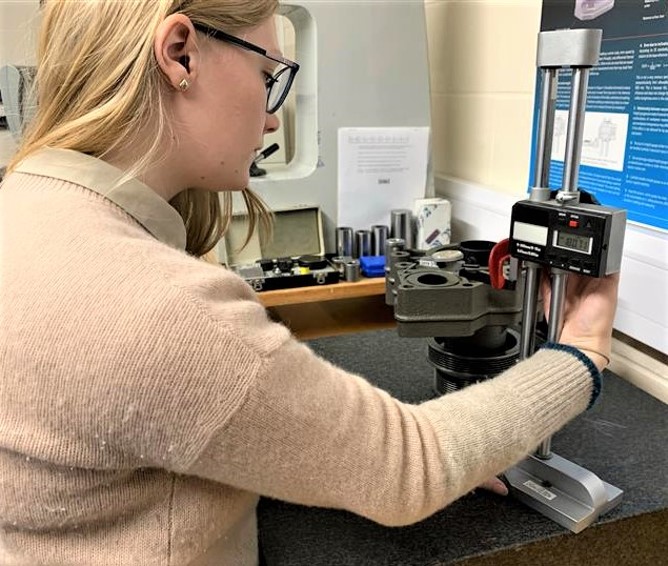
DIGITAL VERNIER HEIGHT GAUGE
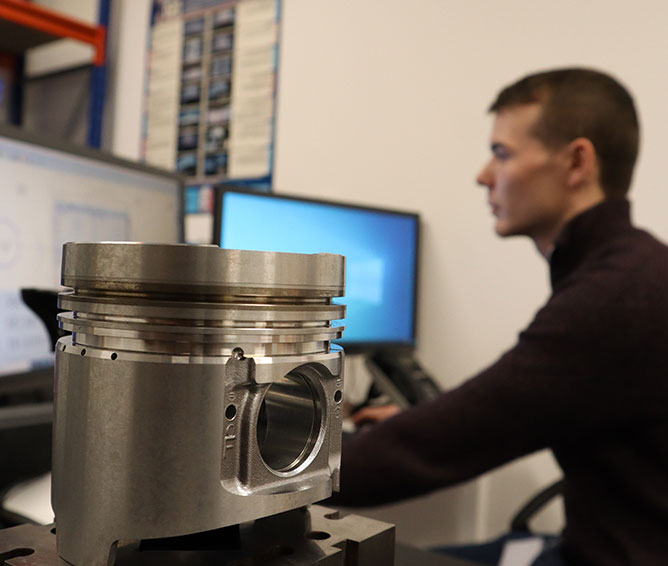
CRANKSHAFT AND CAMSHAFT ANALYSIS
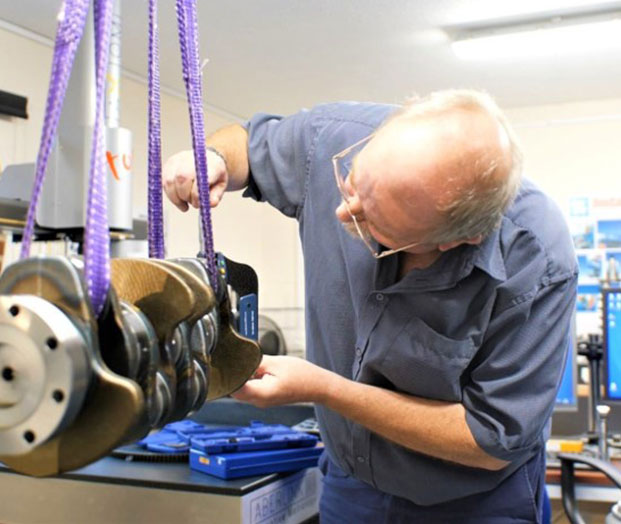
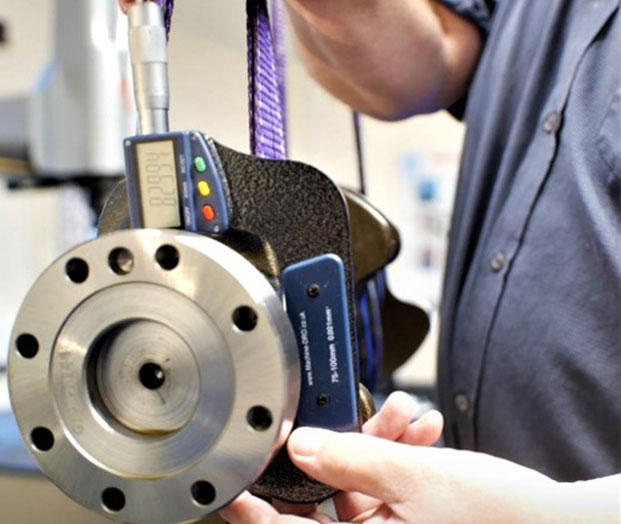
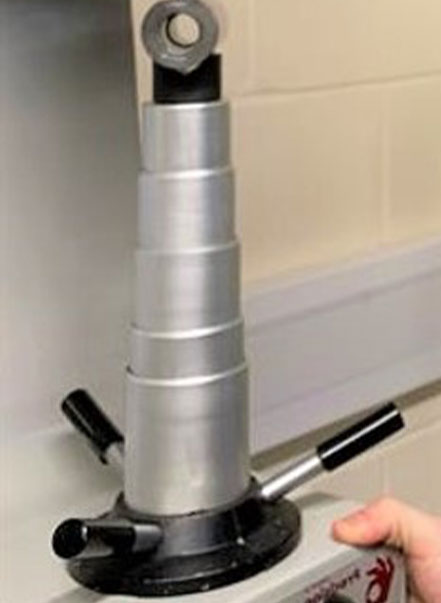
ROCKWELL HARDNESS TESTER
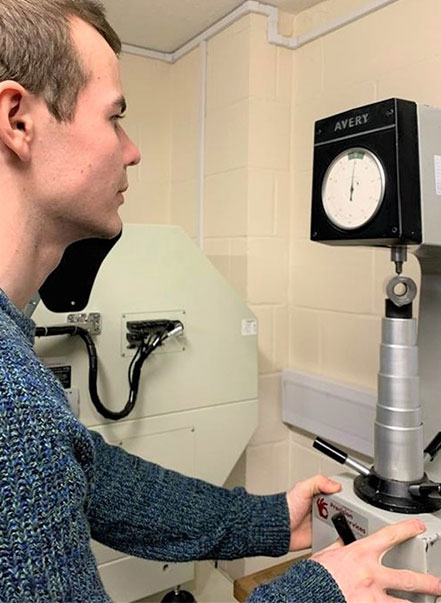
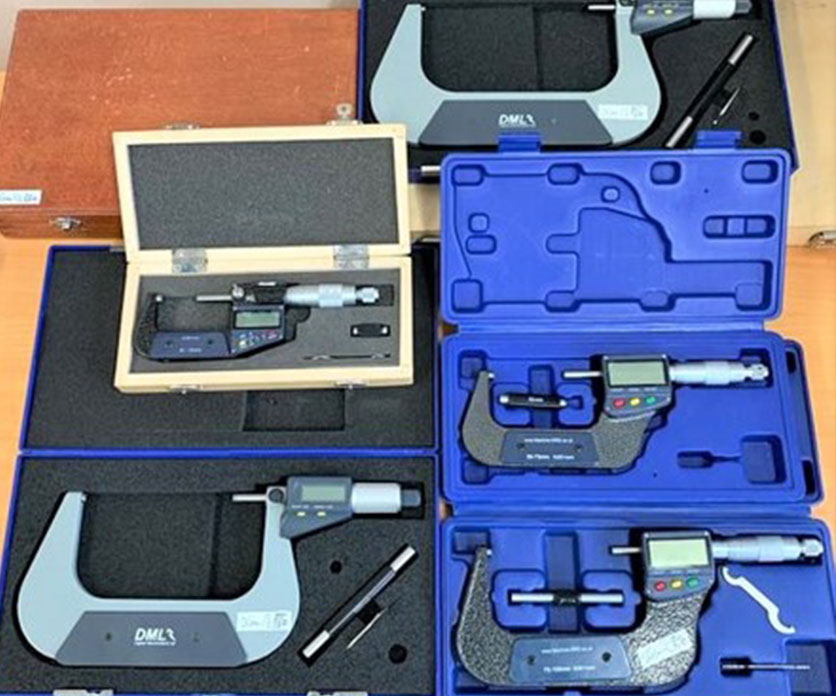
DIGITAL MICROMETER
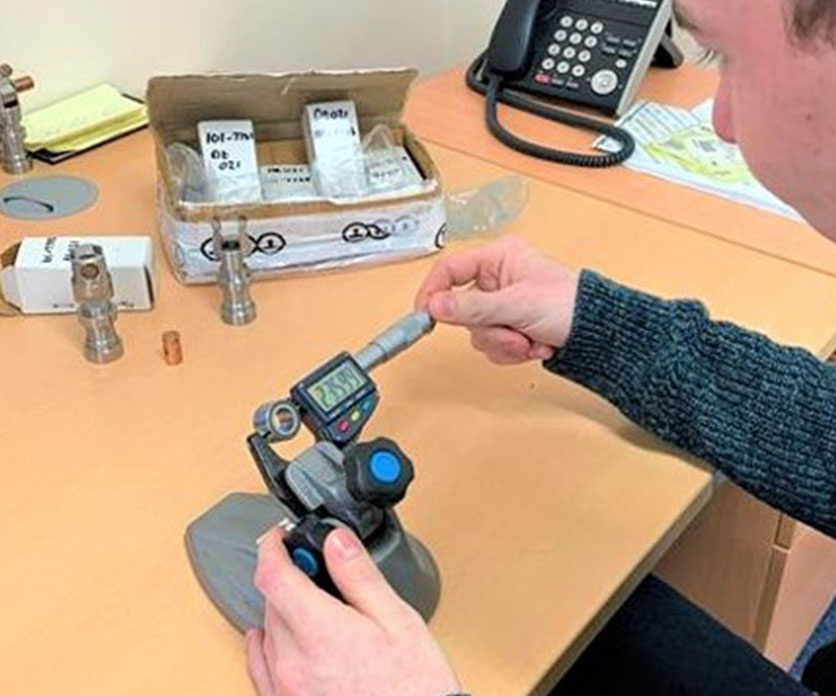
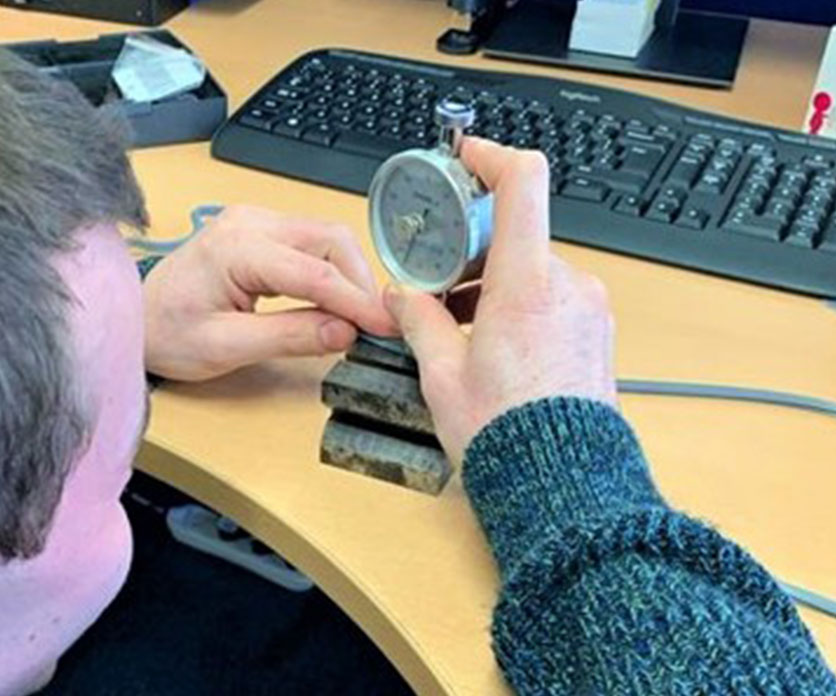
DUROMETER SHORE A
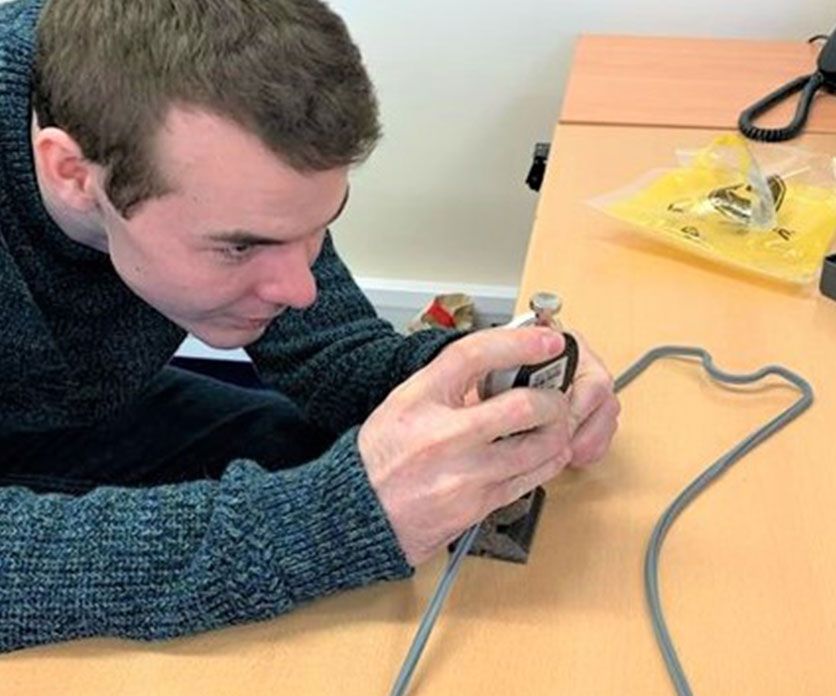
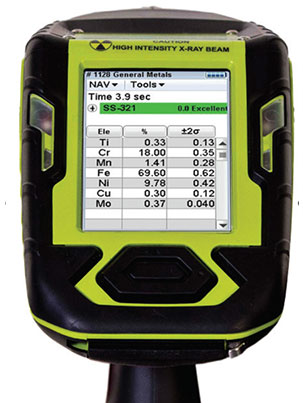
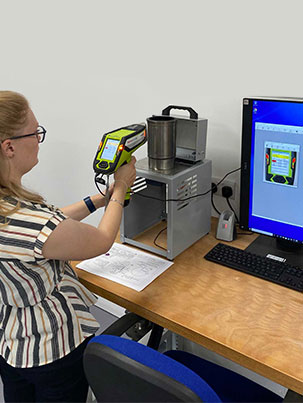
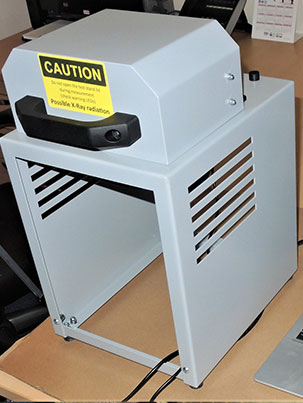
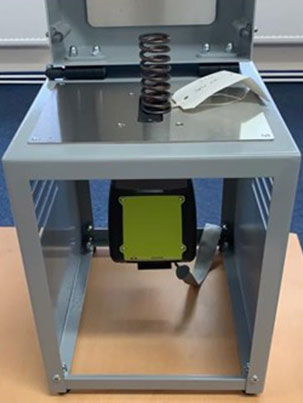
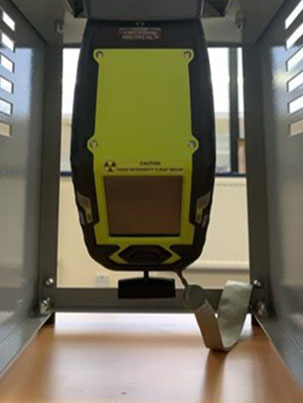
XRF Analyser
- All OEM parts can be tested using the XRF Analyser in order to the material specification to be identified. This information can be used in development to ensure that our parts will perform to the same standard as the OEM material.
- Any KMP part failures can be fully analysed using the XRF Analyser to ensure that we maintain our high standards throughout our parts.
An Ever-Expanding Portfolio: Innovation in Action
KMP Brand’s library of approved designs and samples is in constant evolution, with over 400 parts currently in active development. This dynamic growth mirrors our continuous pursuit of innovation and our drive to offer an ever-widening selection of premium parts.
Precision through Comparison: Reverse Engineering for Excellence
Our meticulous approach to reverse engineering involves comparisons with OEM counterparts. Each drawing and sample undergoes precise evaluation to guarantee that our developed parts seamlessly match OEM standards, setting the bar for performance and reliability.
Mastery of Metrology: Elevating Quality Control
Throughout the development and quality control journey, KMP Brand employs an array of cutting-edge metrology techniques and equipment. Our unwavering dedication to precision ensures that every stage of our development process aligns seamlessly with our exacting standards.
Global Collaboration for Exceptional Results
We maintain close collaborations with a network of esteemed global manufacturers. This global synergy underscores our commitment to excellence at every stage of the development process, fostering a seamless flow of knowledge and expertise.
Choose KMP Brand products with confidence, where precision, reliability, and innovation converge to create a class of excellence that outshines the rest.
WHAT WE DO BEST
Technical Support
Our knowledgeable and experienced technical support team can assist with enquires about all our parts.
Quality Parts
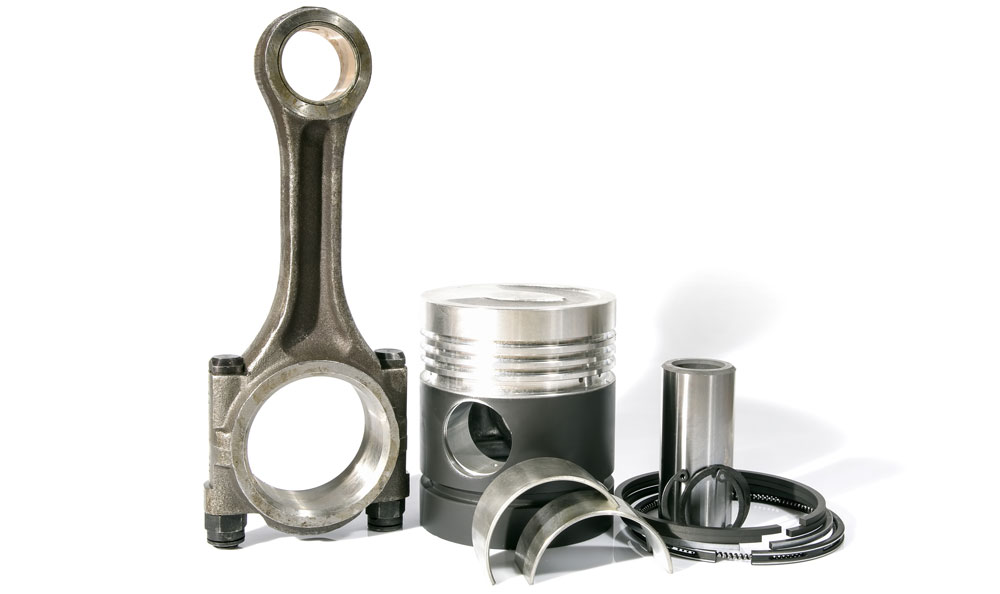
We are dedicated to the quality of all KMP Brand parts. Since 2003, we have held ISO 9001 certification for the production & distribution of diesel engine components.
Manufacturing
We manufacture all KMP Brand to the highest standards, assuring that every stage of the development process results in an affordable product with no compromise on quality or reliability.
Sourcing
The key to delivering quality parts has been an efficient supply chain. With our years of experience and extensive knowledge of the industry, we always ensure that our inventory can meet the growing demand.
Distribution
The head office and distribution centre is conveniently situated in Chertsey, England. This location provides easy access from central London and is only a short distance from the UK’s premier airport – Heathrow. In addition we have subsidiary companies located in the USA, Singapore and Malaysia.
